Administrators
- 27 Jun 2021
- 2 Minutes to read
- Print
- PDF
Administrators
- Updated on 27 Jun 2021
- 2 Minutes to read
- Print
- PDF
Article summary
Did you find this summary helpful?
Thank you for your feedback
Introduction
The Administer section of Probench is mainly used for resetting passwords for R&A team members and giving access to certain areas of Probench. Only one R&A team member should be given Admin access.
This section is also used to reset passwords for signatories who have managed to forget their passwords and for some reason don’t use the Forgot password feature in the Login page of Probench.
Administrator List

- Search : Search admin by name.
- ADD : Click on add icon to add new admin.
- Status : Shows if that admin account is active or inactive.
- EDIT : Click on edit icon to edit admin details.
Add Administrator

- Username : Enter username for admin.
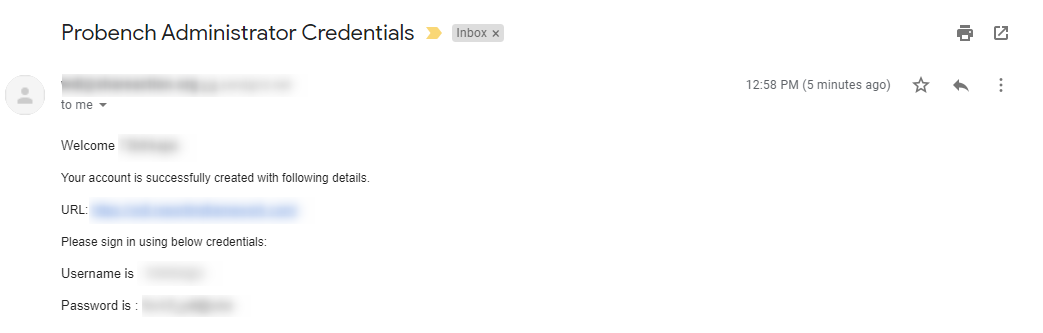
- Generate Password : On clicking Generate Password, administrator will get the generated password on emild id mentioned by them as shown in the below image.
- Password: Use this field to enter the password manually if you decide not to use the Auto Generated password using the tick box in point 2 above.
- Confirm Password: This is to validate if you have entered the password in "Password" field you think you have entered as a double check.
- Email : Enter admin’s email address.
- First name : Enter admin’s first name.
- Last name : Enter admin’s last name.
- Region : Select region from dropdown list for admin to access surveys for those regions.
- Security roles : Check the checkboxes to provide administrator rights to the admin. To know which menu items will be displayed for which role view Administrator Roles
- Comment : Optional field to add additional comments.
- Create : Click on create button to create new admin.

Edit Administrator


Username : Enter username for admin.
Password : Enter new password for admin.
Confirm password : Enter password again in password field.
Active : Tick the checkbox to make admin account active or untick it to inactive the account.
Locked out? : Shows the lock status of admin account.
Email : Enter admin’s email address.
First name : Enter admin’s first name.
Last name : Enter admin’s last name.
Region : Select region from dropdown list for admin to access surveys for those regions.
Security roles : Check the checkboxes to provide administrator rights to the admin. You can find explanation of each of these role here.
Comment : Optional field to add additional comments.
Update : Click on update button to save the changes.
Delete : Click on delete button to delete admin account.
How to add/edit email of admin to get new registration emails to admin?
- Go to Configuration List page and in search textbox, type RegisterAdminEmails and click on search button.
- Now you will see the entry with the name RegisterAdminEmails in the list. Click on edit or point 3.
- If you don’t see any entry with exact name RegisterAdminEmails then add that entry with same name. Add Configuration to add new configuration.
- Now you will be redirected to Edit Configuration page and then in that add or remove the email address of admins to whom registration emails should be send.
- To add multiple email address, seperate emails using commas like
abc@gmail.com,xyz@gmail.com
- Now click on update button to update that configuration and email will be send to the listed admins only.
Was this article helpful?