Collaborative Data Collection
- 03 Jul 2024
- 4 Minutes to read
- Print
- PDF
Collaborative Data Collection
- Updated on 03 Jul 2024
- 4 Minutes to read
- Print
- PDF
Article summary
Did you find this summary helpful?
Thank you for your feedback
Why this feature?
We developed this functionality is Probench to give a smooth and seamless experience to our companies submitting data using the tool. Often the data is distributed across various departments or individuals and due to this very reason a Master user collects all the data offline in Word or Excel format and then do a data entry into to the tool.
For the user doing the data entry this is a very combursome process which is messy and errorneous. So to make this process seamless for the users and to encourage online collection of data in this internet world we thought to develop this functionality.
Who can use this feature?
This functionality is mainly useful for the companies that have their data distributed across departments and there are different contacts responsible for different areas.
This functionality will help the super user to get all the information from their colleagues online and directly into the system without they even registering in the system. This functionality also gives super user a chance to check and accept the responses before they are finally submitted.
How this work?
If you want a colleague to give feedback/give a comment, you can share it with him/her. The system will send an email to your chosen recipient, which will include the parts of the survey sections that you want to share.
If you’re on the overview page, you choose what pages to share by ticking the boxes next to the pages subject under the tabs to the left. Your colleague will only have access to the pages that you share and not the entire survey.
If you choose to share from a specific page, you will only share this page with your colleague.
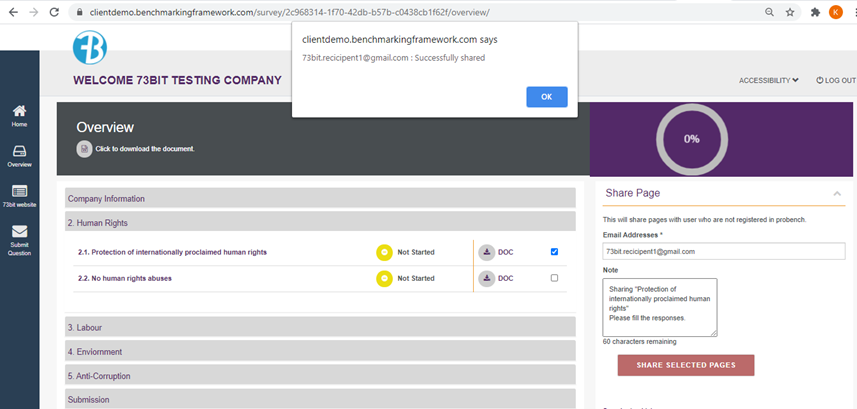
You can also add a personal message below with details about what you would like them to do. Your colleague will only have access to the pages that you share and not the entire survey. The sender email will be the email address that you have used to login to this platform. By going through the above introduction you would have noticed that there are 2 types of users of this functionality 1) Who shares the pages and 2) One who the pages are shared with.
How to enable this feature
To enable this feature visit:
Setup --> Manage Features --> SharePageFeature
How functionality works for those who are sharing the pages?
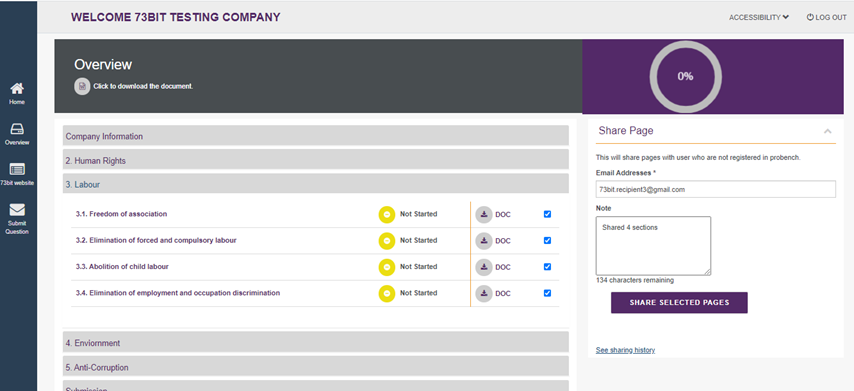
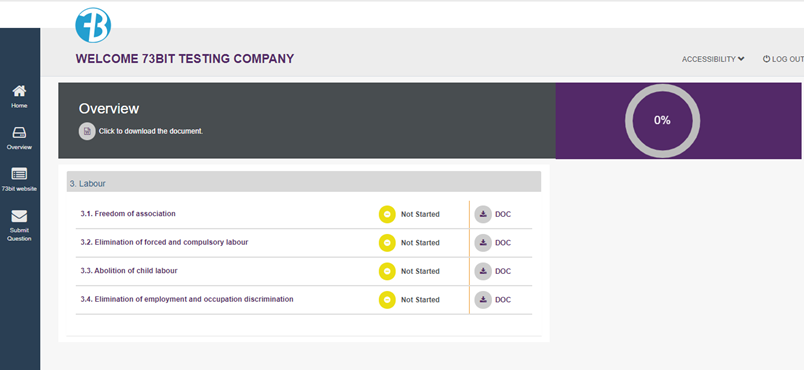
Once you login to Probench site and open overview page you will see share page feature as below:
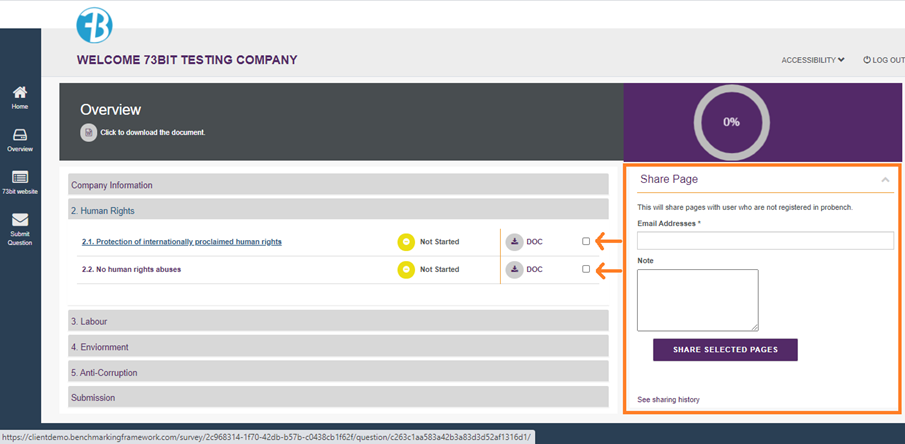
Using share page checkboxes, you can share the page with another colleague which should not be present in Probench and after clicking on Share selected pages the successfully shared message display on screen, this message indicated that you have successfully shared selected page with another colleague
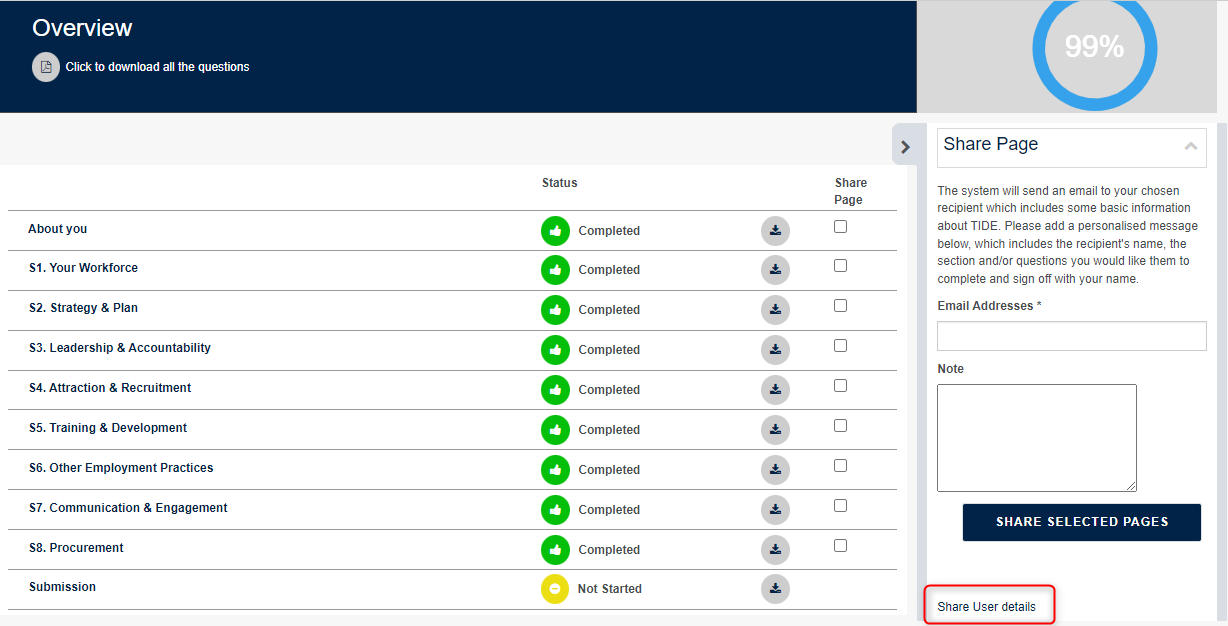
Once page shared you can see the Share page history by clicking on “Share User Details”, This will open new tab with title “Edit Share Users”
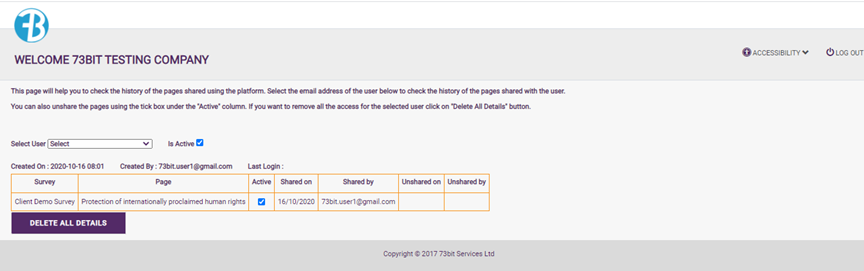
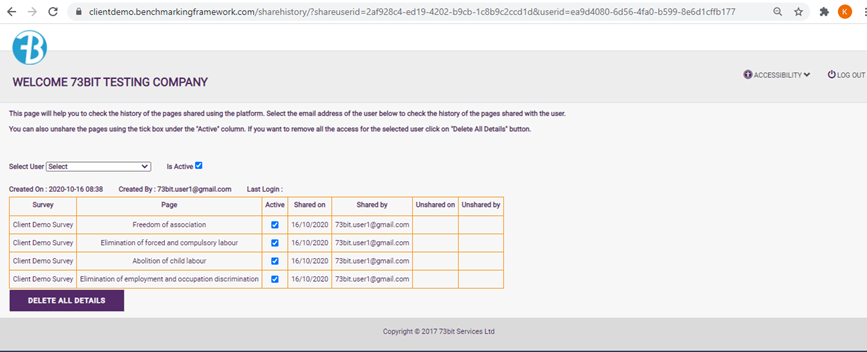
Step 4 - On “Edit Share Users” page select shared user and check the pages that are shared with that user
Similar way shared more pages with another colleague
On “Edit Share Users” page check section shared with another colleague
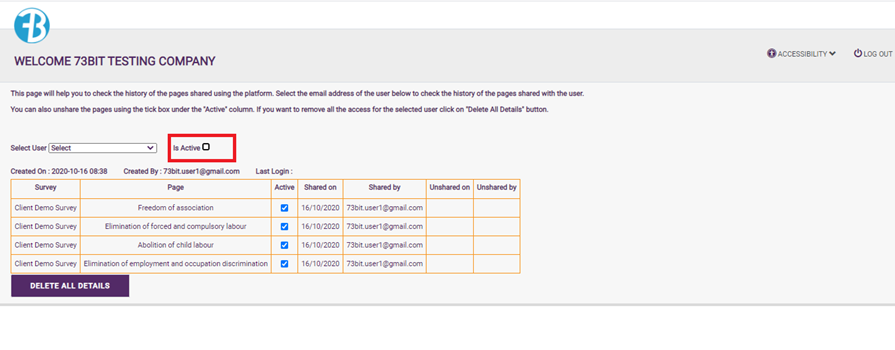
Now you can make user inactive by deselecting “Is Active” checkbox, then shared user cannot access the links which you have shared
Similar way you can inactivate pages by deselecting “Active” column checkboxes, then shared user cannot see the deselected page in survey:
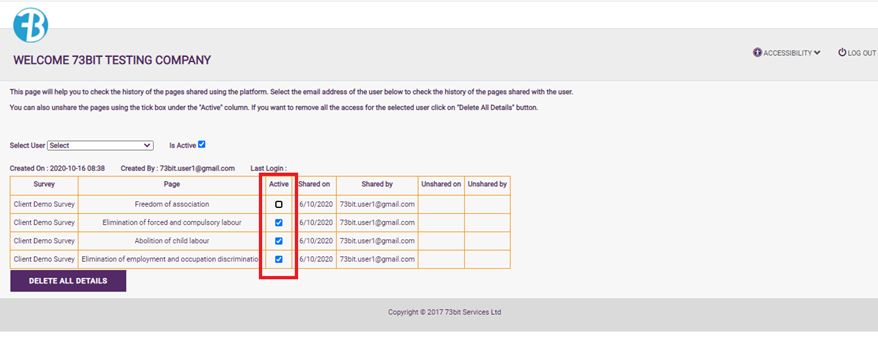
Again check the share users details for above case and see the “Unshared on” and “Unshared by” is updated with the action performed for that user
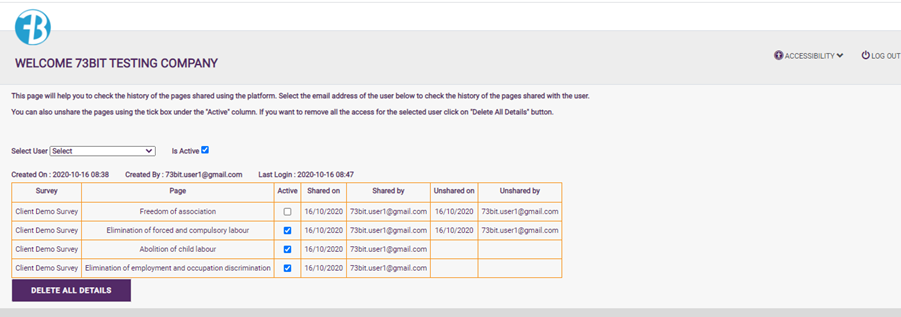
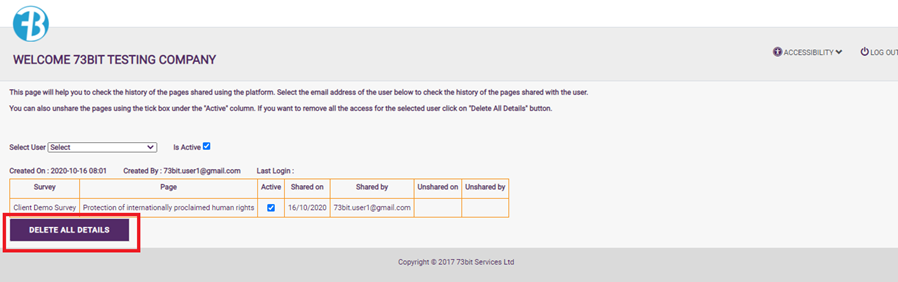
Using “Delete All Details” you can delete all shared data and user from system


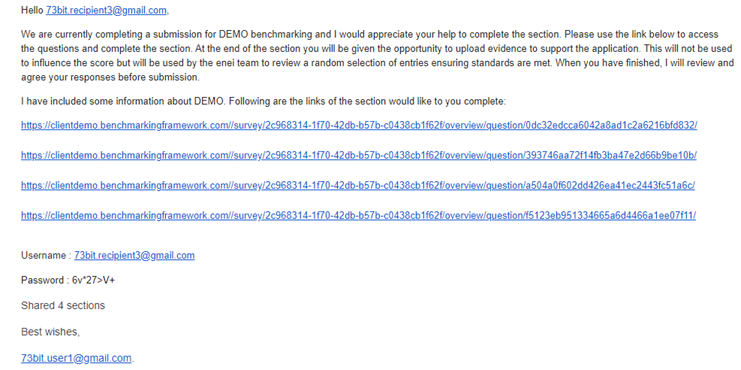
How functionality works for those who receives shared pages
User with whom the pages are shared would receive an email like the one showed in the below image. This email will contain the links to the pages shared with them.
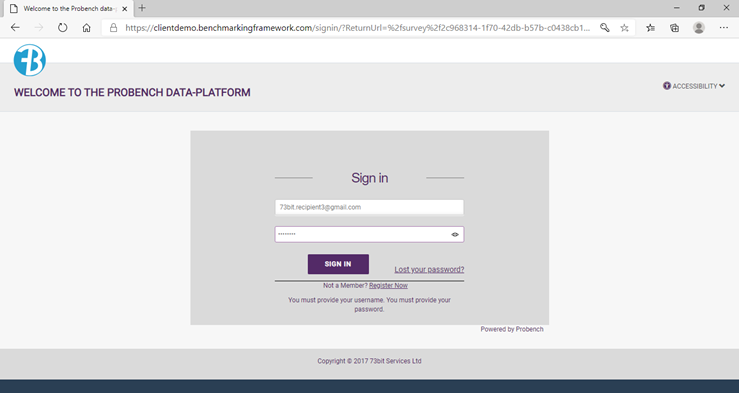
On accessing links by shared user the sign-in page for site will open and here they need to fill the provided user name and password to login to system
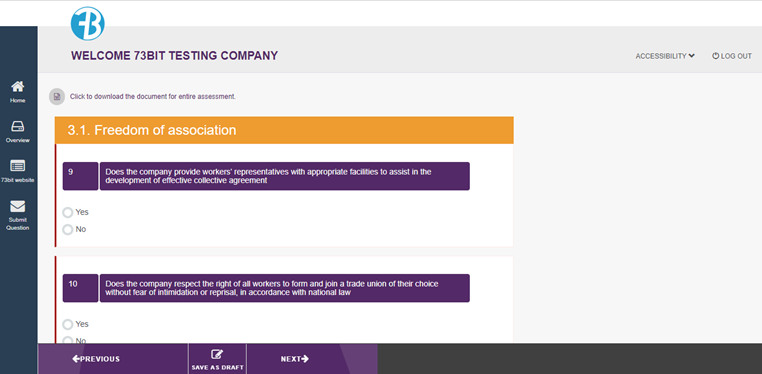
Once logged in successfully shared user can only see the shared sections/pages on overview pages as below
Shared user can only see the “Save as draft” option for saving the response on a particular page as below.


Configurations used
- FeatureToggle_SendSharePageFromLoginUser (yes/no) - If value = no then email will send using FromEmail config key, If value=yes then email will send from currently logged in user.
- ShareAPageModuleMessage - To show share page message on survey pages above "Email Addresses" box.
- ShareAPageEmail - This is used for content ShareAPageEmail
- ShareAPageEmailWithoutPassword - this is used for content ShareAPageEmailWithoutPassword
- SharePageEmail
- SharePageSubject
Email content updated from below which should be present at Setup -> Manage Content :
- ShareAPageEmail - This will send an email with username and password.
- ShareAPageEmailWithoutPassword - This will send an email without username and password, In case of sending sections for already existing shared user.
FAQ:
- Why am I not able to see "Share a page" module on my survey?
- The survey is in a submitted state.
- SharePageFeature is set to "NO" or it is disabled in
Setup->Manage Feature - If logged in user is Read only Manager.
Was this article helpful?